How to get this:  from this cap (002).
(The icon in this tutorial didn’t turn out exactly like the icon that the tutorial is based on (mainly because I can’t remember what I did... heh, oops!) but it’s very, very close! And the basic skills behind it are in here, so, I hope that’s okay!)
First of all, change the image size and position the photo in the bottom right hand corner of the frame.


Then add a Hue/Saturation layer and take the Saturation down to -100.


Then paint the top part of the frame black so that there is no white showing.

Merge all layers together then add a soft light layer, opacity 100%. Then add another soft light layer, opacity 30%.

Merge all the layers together, then copy the Background layer and sharpen Layer 1. Set that layer to 55% opacity.

Merge all layers together again then copy the following texture by![[livejournal.com profile]](https://www.dreamwidth.org/img/external/lj-userinfo.gif) jadis_88 onto the icon:
jadis_88 onto the icon:

Use the colour replacement tool with the colour black to make this layer back and white, then set the layer to hard light. You may need to erase a little of the layer around Lee’s face so it’s clearer.

Do the same thing again with this texture bycielo_gris :


Merge all layers together, then add a screen layer and set to 32% opacity.

Merge all layers together then copy the background layer and sharpen it, set the layer to 60% opacity.

The take this texture bypiemin ...

...and set it to screen, opacity 54%. Again, you may have to erase a little of the layer around Lee’s face.

Flip the texture layer horizontally.


Finally, merge all the layers together, then copy the background layer and set it to soft light, opacity 25%.

And voila, you have your icon.
^.^
 from this cap (002).
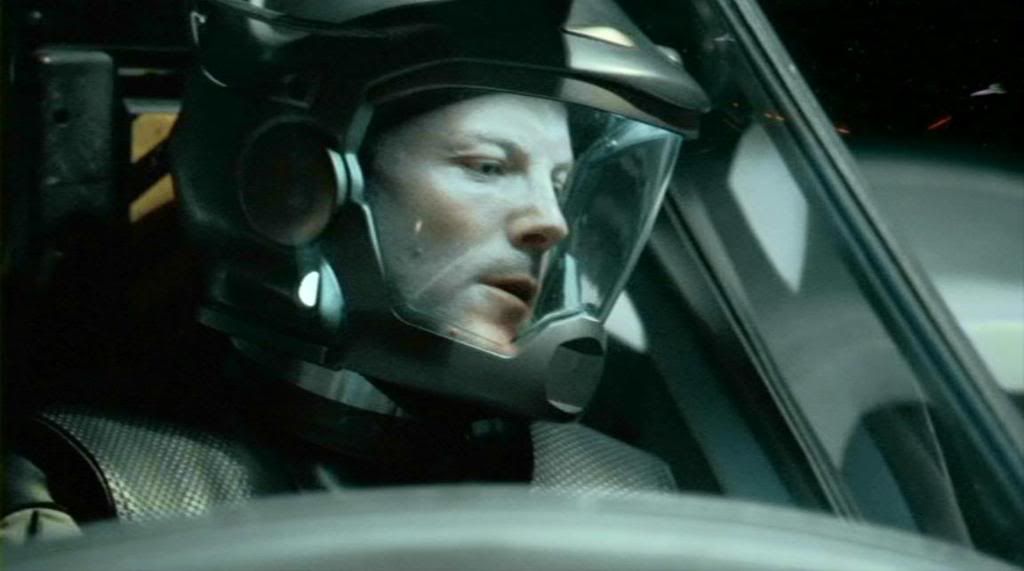
(The icon in this tutorial didn’t turn out exactly like the icon that the tutorial is based on (mainly because I can’t remember what I did... heh, oops!) but it’s very, very close! And the basic skills behind it are in here, so, I hope that’s okay!)
First of all, change the image size and position the photo in the bottom right hand corner of the frame.


Then add a Hue/Saturation layer and take the Saturation down to -100.


Then paint the top part of the frame black so that there is no white showing.

Merge all layers together then add a soft light layer, opacity 100%. Then add another soft light layer, opacity 30%.

Merge all the layers together, then copy the Background layer and sharpen Layer 1. Set that layer to 55% opacity.
Merge all layers together again then copy the following texture by
Use the colour replacement tool with the colour black to make this layer back and white, then set the layer to hard light. You may need to erase a little of the layer around Lee’s face so it’s clearer.

Do the same thing again with this texture by


Merge all layers together, then add a screen layer and set to 32% opacity.

Merge all layers together then copy the background layer and sharpen it, set the layer to 60% opacity.

The take this texture by

...and set it to screen, opacity 54%. Again, you may have to erase a little of the layer around Lee’s face.

Flip the texture layer horizontally.


Finally, merge all the layers together, then copy the background layer and set it to soft light, opacity 25%.

And voila, you have your icon.
^.^
8 comments | Leave a comment